Dragonkind Walkthrough: Screen by Screen
Screen-by-screen Dragonkind walkthrough of one fan-recorded run from cadet assignment through the Threshing Valley to a burn ending, with verified screenshots.
FAQ
How long is the walkthrough video used on this page?
Does this walkthrough guarantee my dragon?
Can you enter the Threshing Valley with squadmates?
What happens after the two green dragons scene in this run?
Where is the shareable result card in the flow?
Is the walkthrough video official?
How Do You Walk Through Dragonkind Step by Step?
Every beat in the browser game is a full-screen story card or a gold-framed choice menu. The clip used here starts after login on the assignment arch, not on the email gate. For sign-in and rules without spoilers, start with how the Dragonkind game works; for route experiments see Threshing answers.

Full Threshing Valley run (fan recording)
Step 1 — Read your assignment (narrative card)
The YOUR ASSIGNMENT, CADET arch screen lists placement labels WING / SECOND, SECTION / TAIL, and SQUAD / SECOND inside the gold circle, with CONTINUE YOUR STORY below. It orients you before valley choices; it is not a branch.
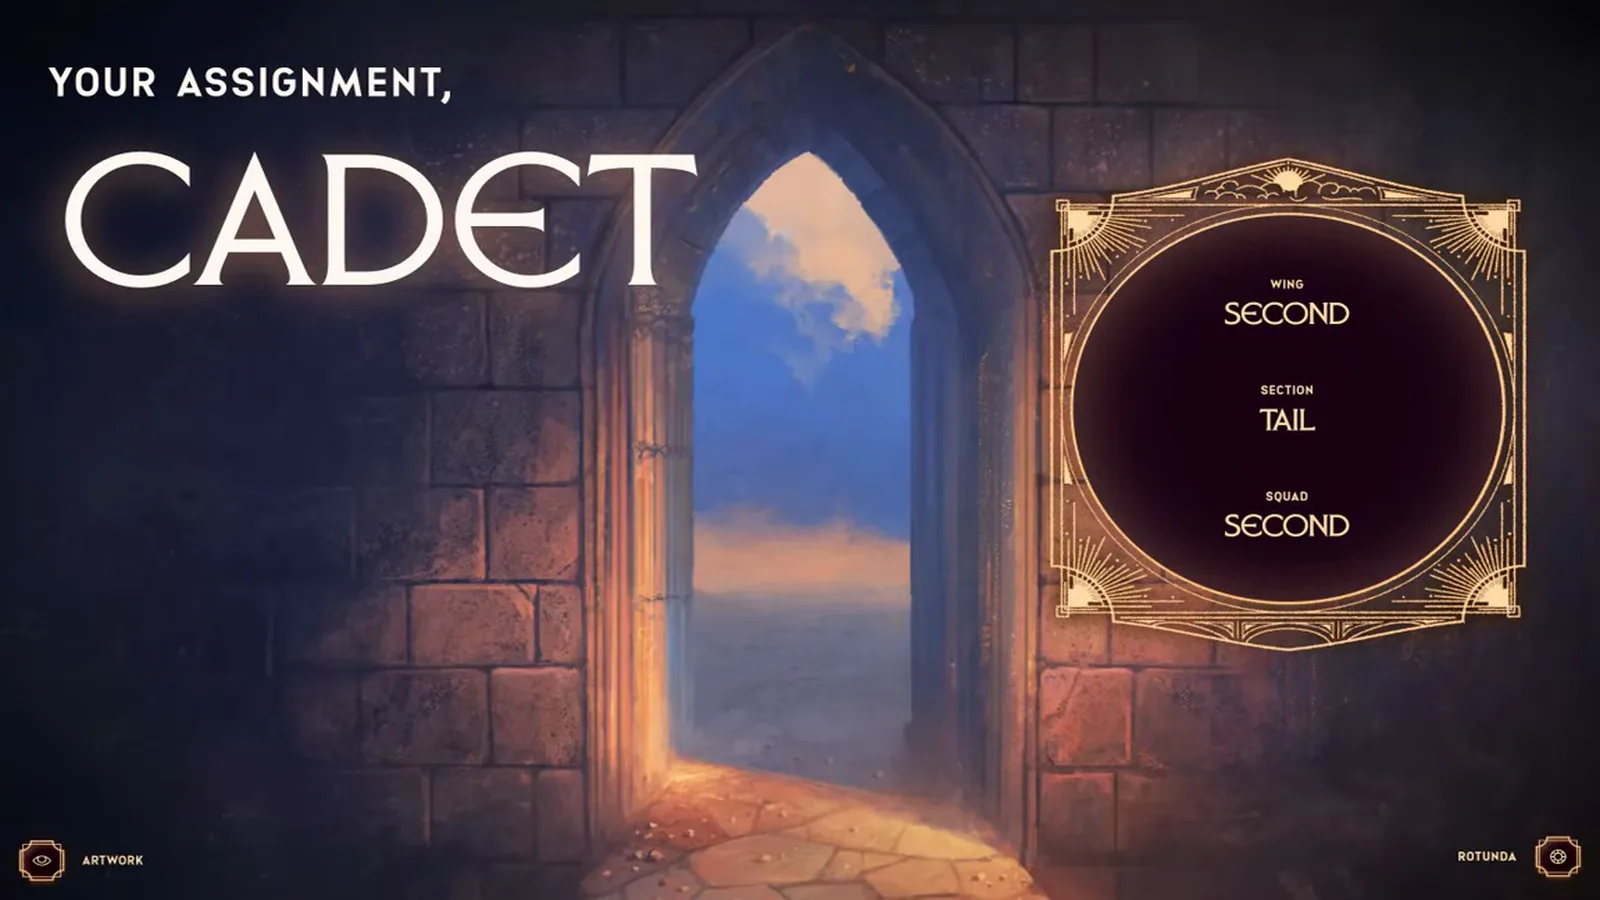
Assignment stats before the valley.
A few seconds later the same run shows WELCOME TO THRESHING, CADET! on a forest card (0:30), then narrative text about bonding your dragon or death (0:48).
Step 2 — Choose how you enter the valley (choice menu)
The first fork is squad size. Narrative line Follow your instincts, and good luck. sits above three buttons. In this run, ENTER THE VALLEY ALONE is highlighted before NEXT SCENE.
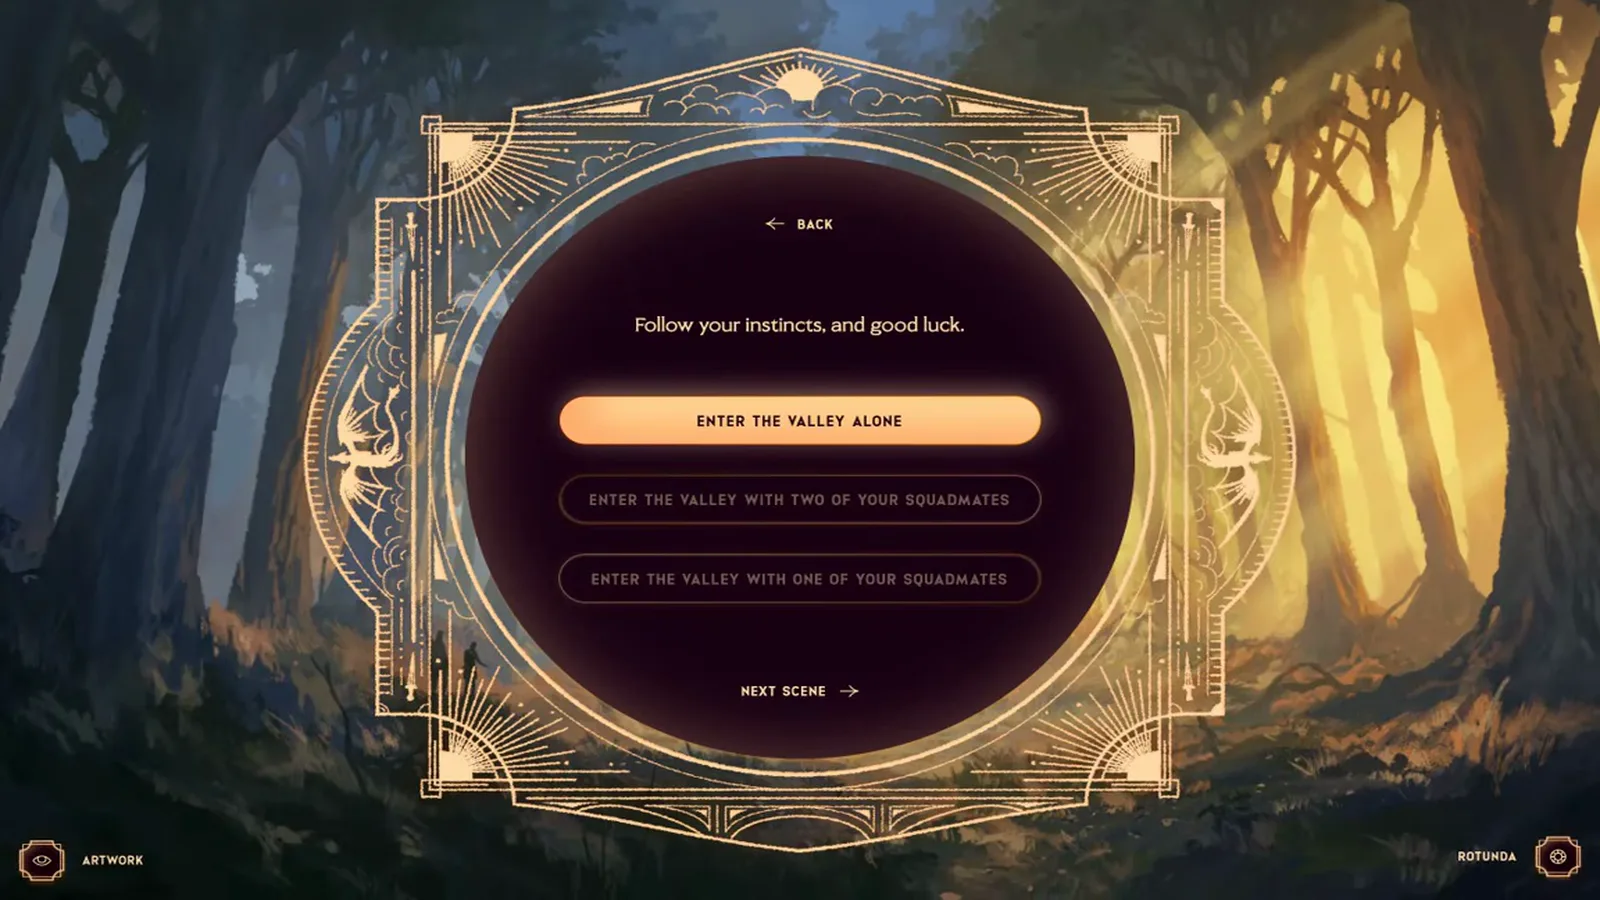
Squad-size menu at the forest edge.
Step 3 — Pick a direction (choice menu)
Facing the valley from the north… describes a roar to the east and sulfur from the west, then offers HEAD EAST TOWARD THE ROAR, HEAD WEST TOWARD THE SCENT, and HEAD TOWARD THE CENTER OF THE FOREST. In this run, the outline of HEAD WEST TOWARD THE SCENT brightens before the next card.
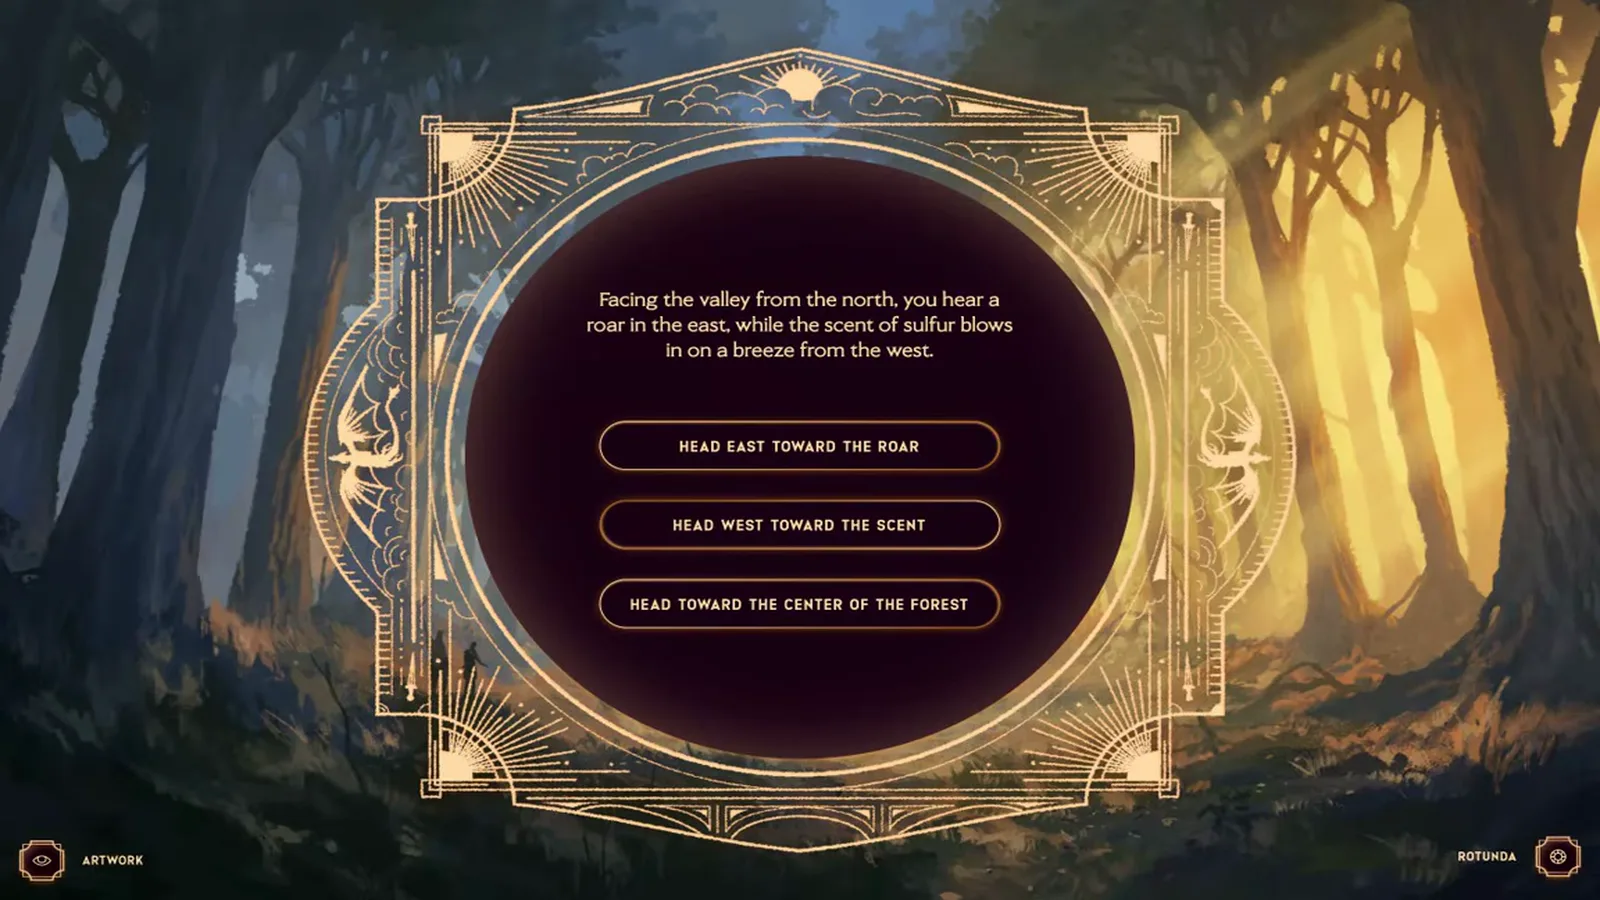
Three-way heading fork.
Step 4 — First green dragon behind bramble (choice menu)
The next card describes hacking through a bramble bush and finding a growling green. Three posture buttons appear: STARE AT THE GROUND AND DROP THE WEAPON, LOWER YOUR EYES AND HOLD YOUR GROUND, and APPROACH FROM THE LEFT. In this run, LOWER YOUR EYES AND HOLD YOUR GROUND is highlighted. The next card (1:44) says you were disappointed but left alive, with HEAD DEEPER INTO THE FOREST — consequence text after that pick, not a separate screenshot here.
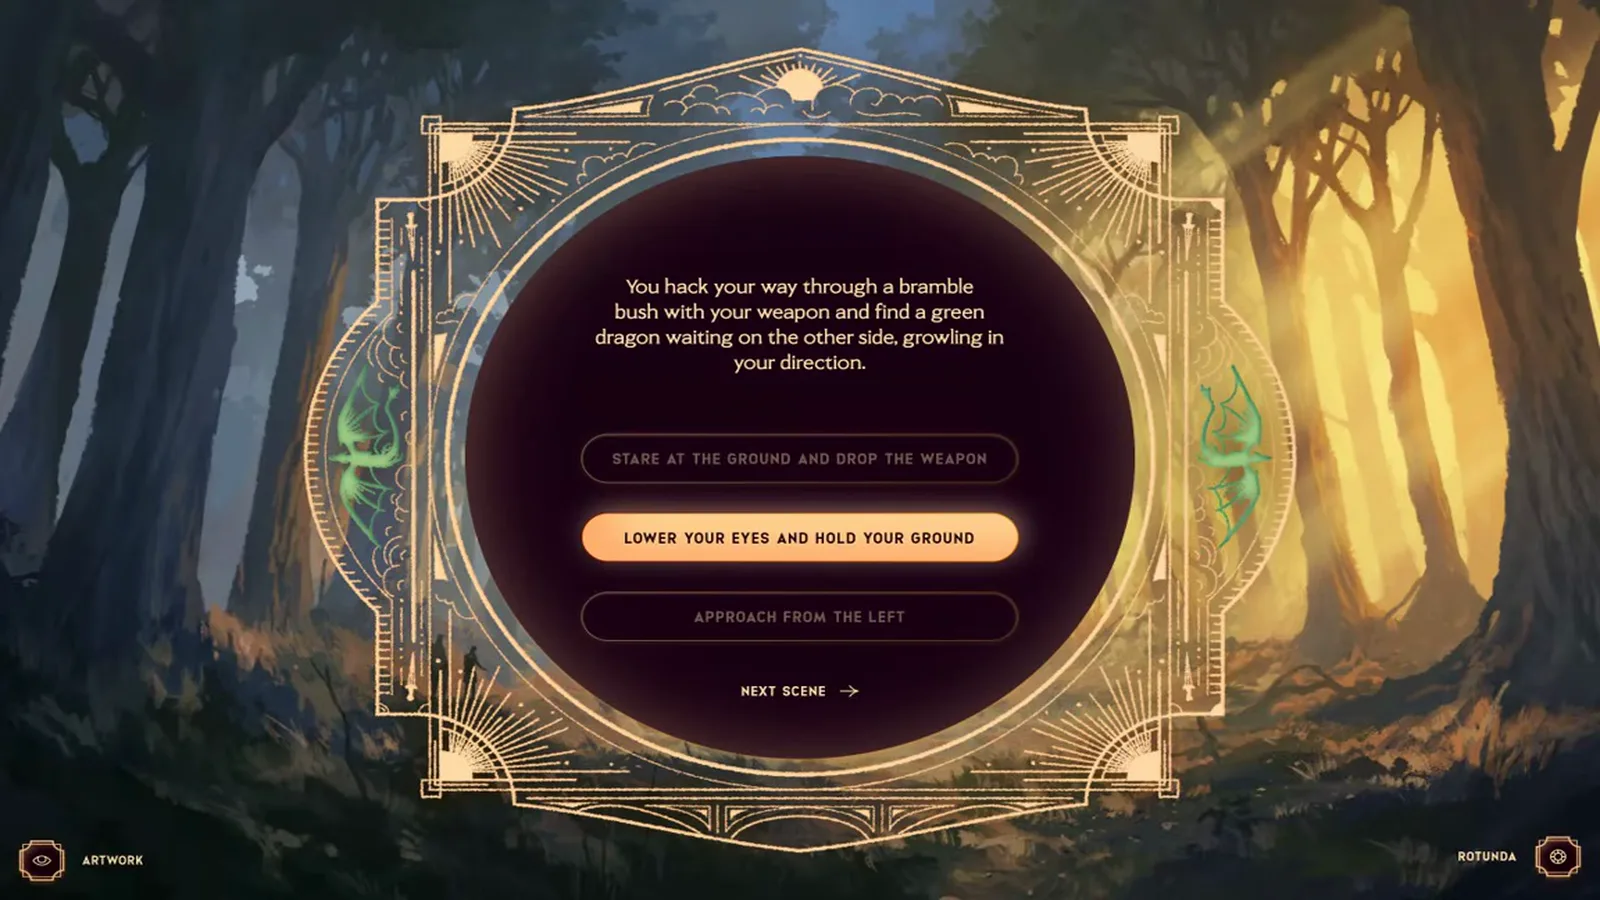
First dragon encounter on the west route.
Step 5 — Investigate the scream (choice menu)
Narrative text mentions smoldering ash, twenty minutes of walking, voices, then a scream. Buttons: INVESTIGATE THE SCREAM and KEEP WALKING. THE CADETS ARE JUST AS DANGEROUS AS THE DRAGONS TODAY. In this run, INVESTIGATE THE SCREAM is highlighted; the following card (2:14) begins You race toward the scream…
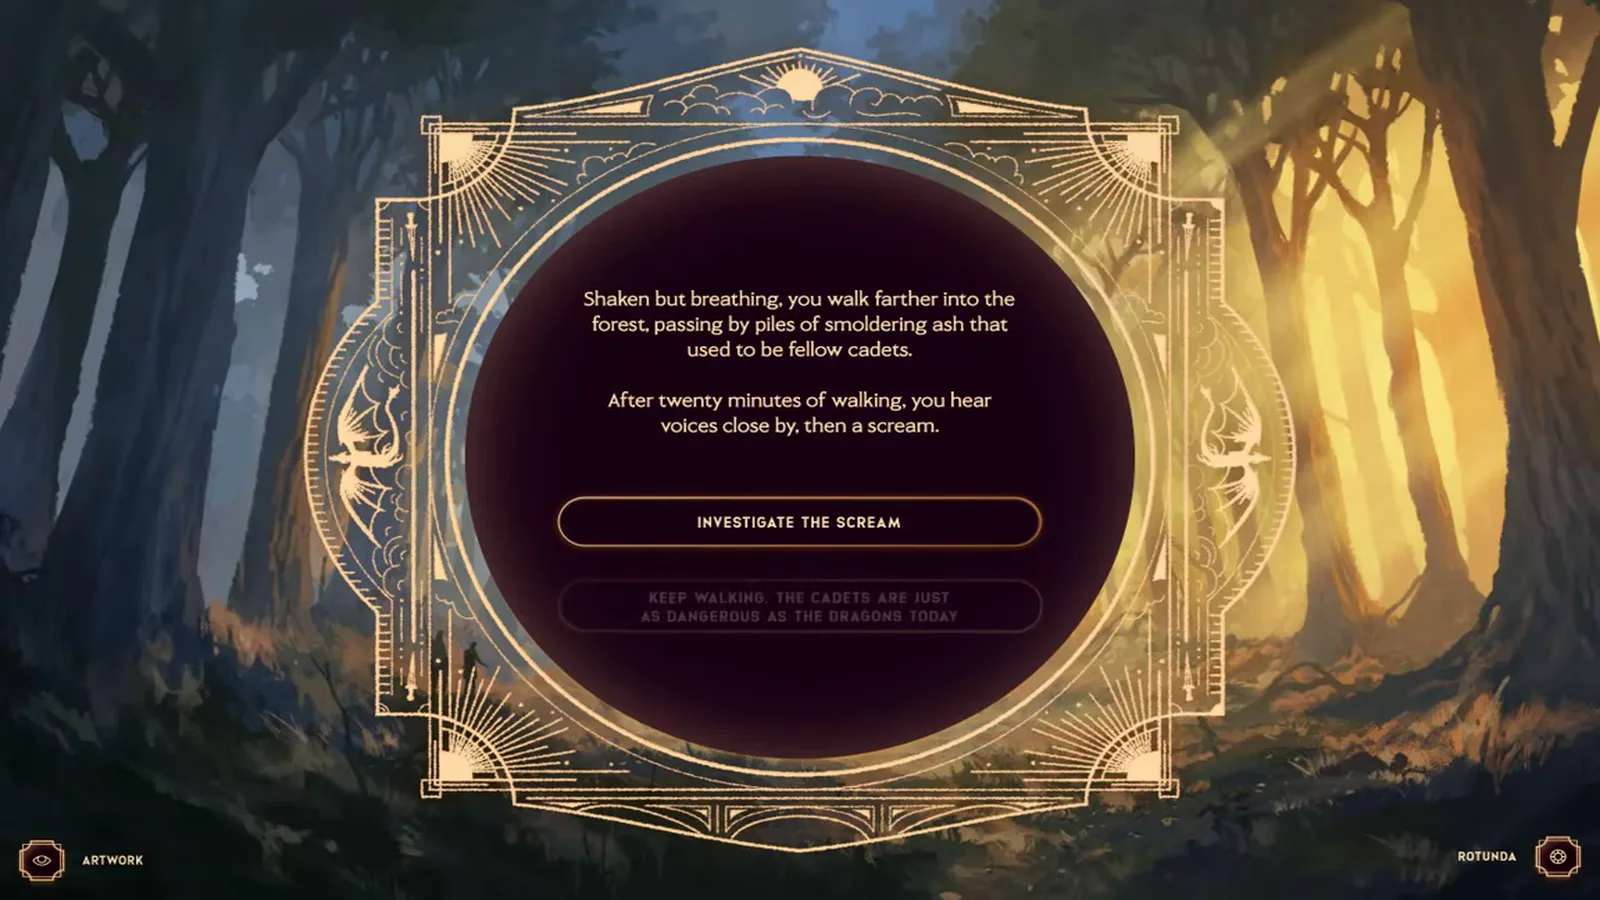
Detour choice after the ash-pile narration.
Step 6 — Squadmate bullying scene (choice menu)
After investigating, text places a friendly squadmate holding off two angry cadets. HELP YOUR SQUADMATE faces PLAY IT SAFE AND LEAVE THEM TO THEIR OWN DEFENSE SO YOU CAN FIND YOUR DRAGON. In this run, the play-it-safe line is highlighted. The next narrative (2:33) describes walking the better part of an hour with a thorn cut — follow-on text after that button.
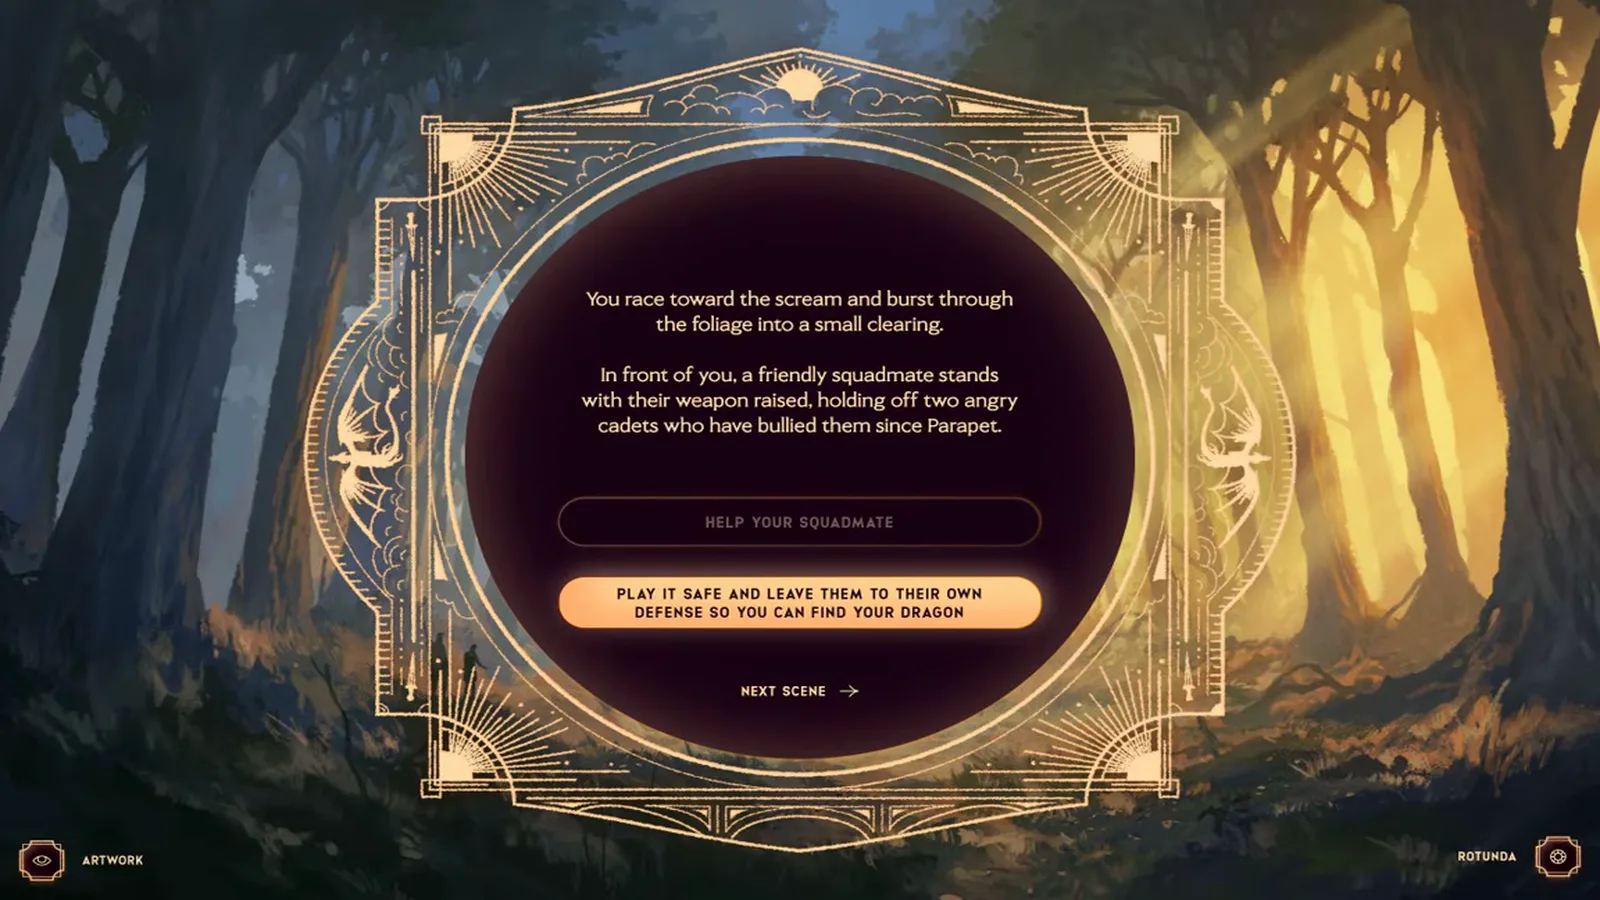
Optional cadet-versus-cadet fork.
The recording then offers FIND THE TALLEST TREE AND CLIMB FOR A BETTER VIEW versus CONTINUE TOWARD THE CENTER OF THE VALLEY (2:51); climb is highlighted, followed by canopy narration and a green spotted below (3:03). Composure tips still match how to survive Threshing Day.
Step 7 — Two greens in the open field (narrative card)
It’s a short walk to the clearing… is narrative only (no buttons on this frame): two greens wait in the center, watching, with the left narrowing its eyes and the right growling. That setup is what players discuss in the two green dragons guide — treat outside patterns as reported, not confirmed by this clip alone.
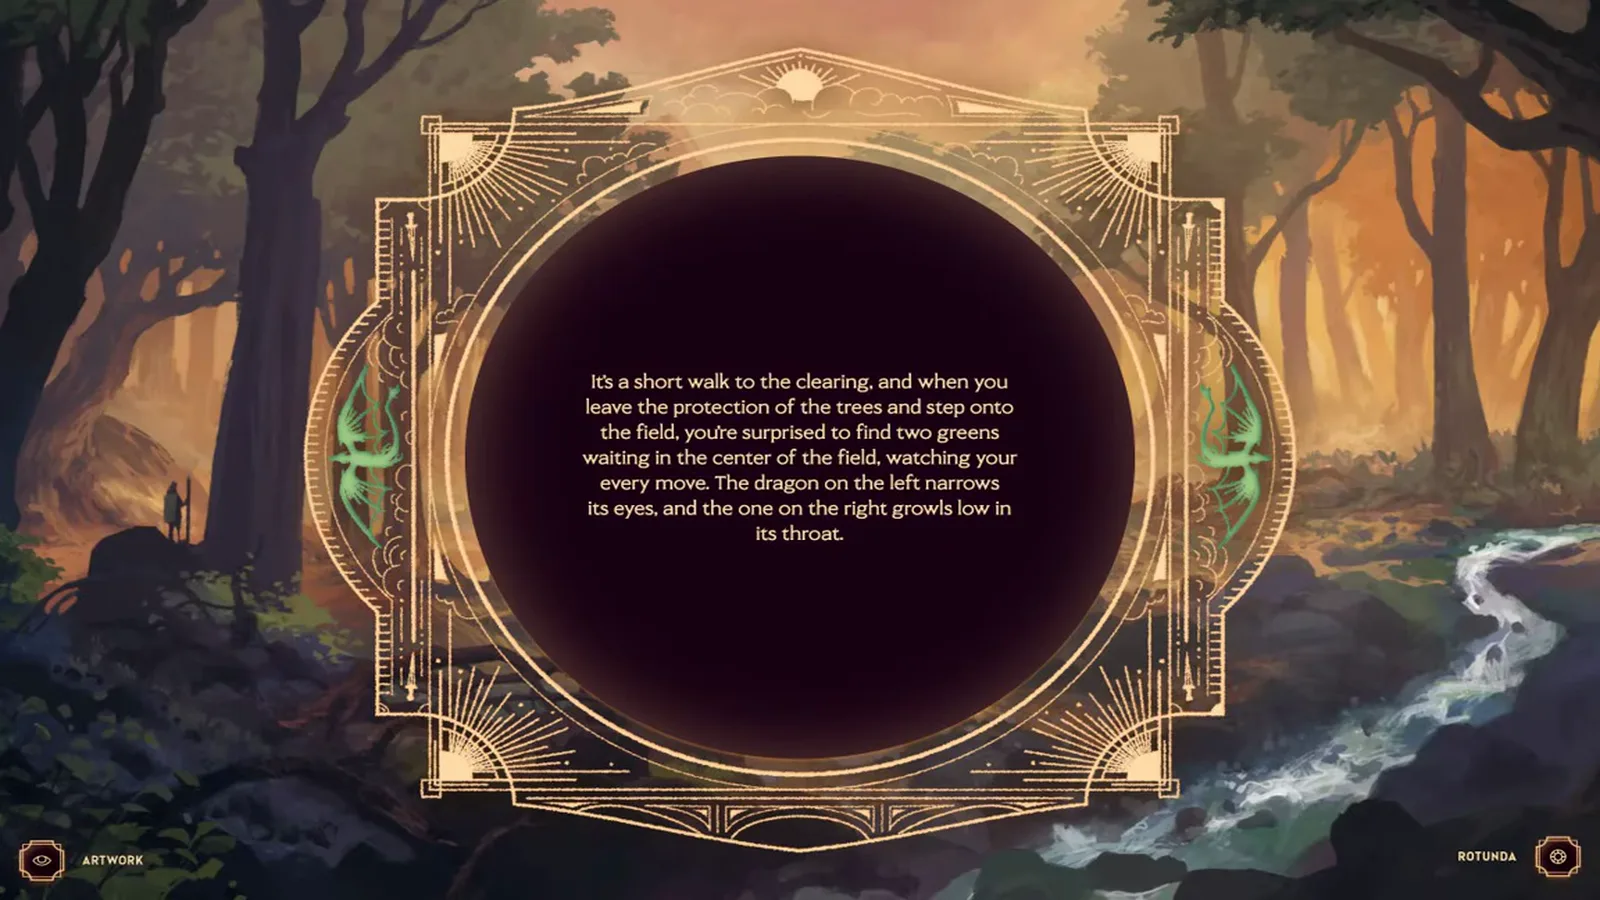
Two-green setup before engagement buttons.
Step 8 — Engage one dragon (choice menu)
Which do you choose to engage? lists LOWER YOUR EYES AND TURN YOUR BODY TOWARD THE RIGHT, LOWER YOUR EYES BUT KEEP YOUR BODY NEUTRAL, LETTING THEM DECIDE, and LOWER YOUR EYES AND TURN YOUR BODY TOWARD THE LEFT. In this run, the right-hand option is highlighted. Narrative at 3:48 reads The dragon on the right takes two menacing steps forward before the burn.
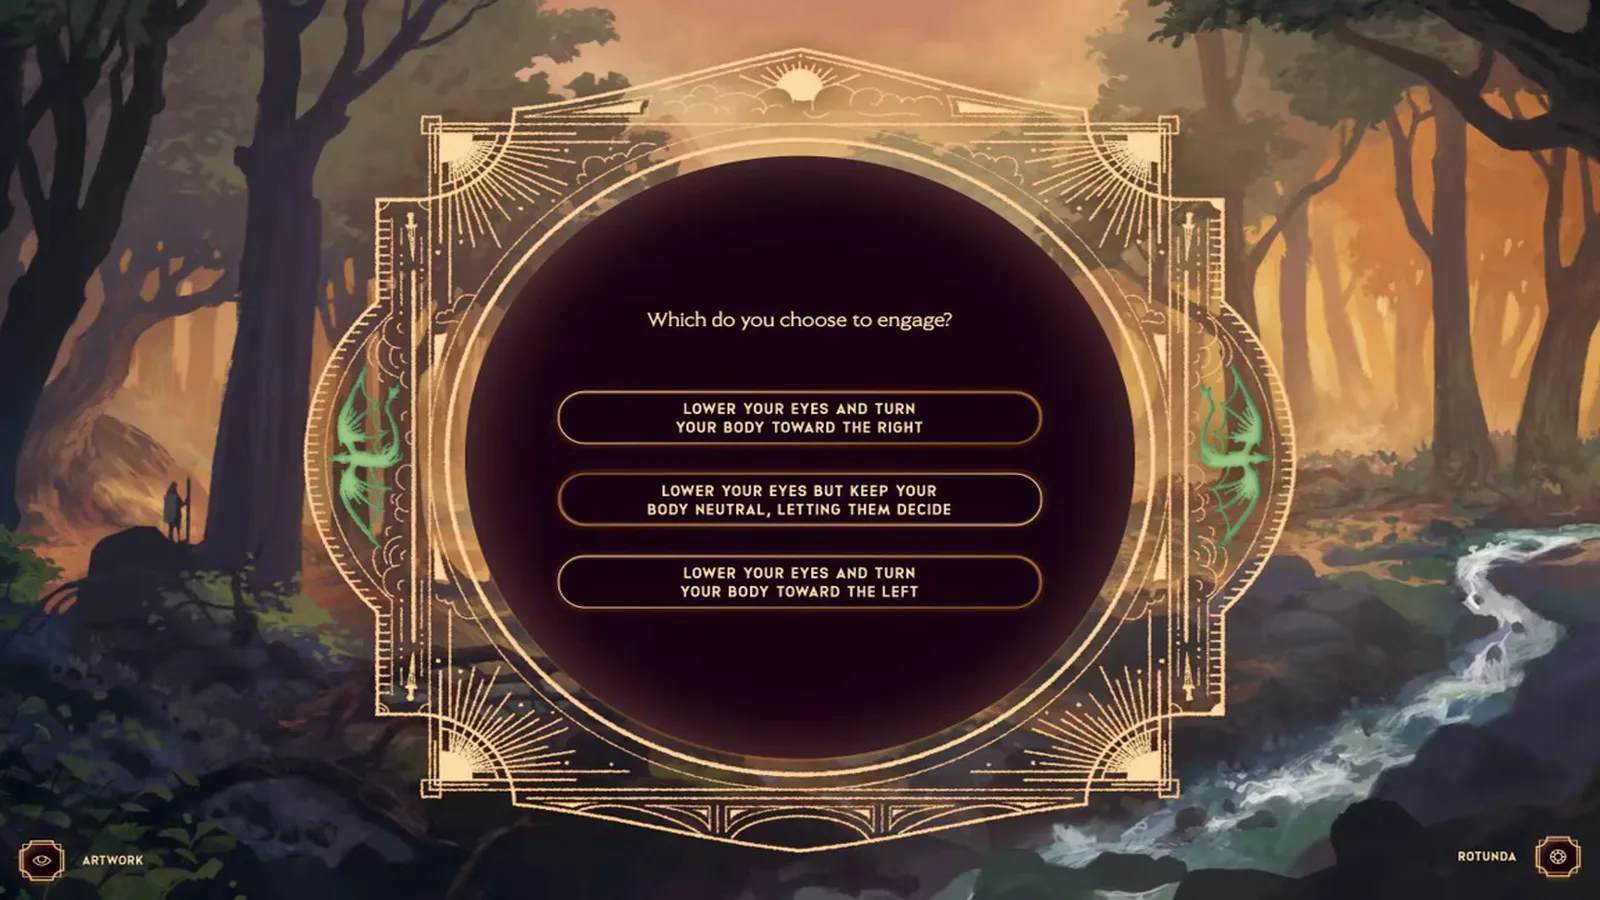
Commit-to-one-dragon menu.
Step 9 — Burn ending (narrative card)
At 3:58 the circle shows OOOOH. with sparks only; the line That was a… choice. appears by 4:00, with the incineration copy right after it. Cooldown and retry UI are on our burn ending guide; a successful bond shows the shareable card on the result card guide.
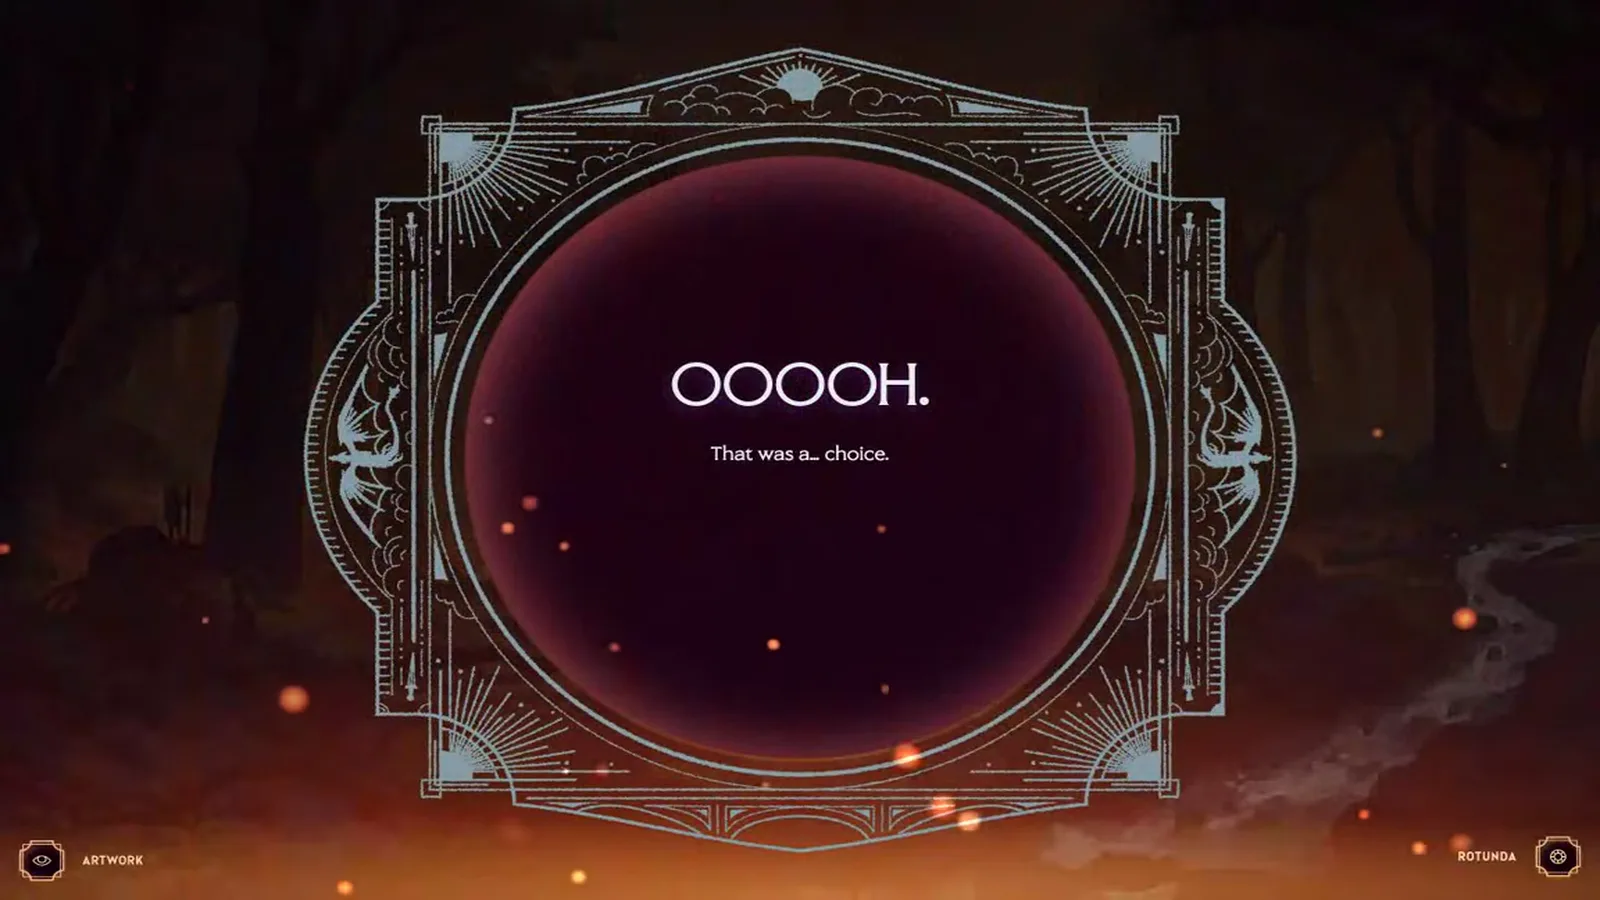
Burn reaction with full line visible.
What Should You Do With This Walkthrough?
Use it as a screen atlas for one run, not a script. Rebecca Yarros (via Parade) has said there is roughly a 10% chance of incineration per attempt regardless of choices — attribute that to the interview, not to this footage. When you want canon approach logic instead of a single recording, pair this page with Threshing answers, dragon bonding explained, and the dragon color guides.
Related Articles
Dragons
Dragon Lineages in Dragonkind: Every Bloodline
Dragon lineages by color: the five bloodlines the official Empyrean site names, the extra ones players report, and what the Dragonkind result card shows.
Guides
What Happens If You Burn in Dragonkind
Burn endings in Dragonkind look like this in real runs: the on-screen insult, the cooldown text, the Rotunda timer, and how a retry starts after you wait.
Guides
Dragonkind Result Card: Name, Color, Tail
After a Dragonkind bond, the result card lists your dragon's name, color, tail, sex, age, and lineage. See what each field means with two real bonds.
Was this helpful?
Thanks for the feedback!