Dragonkind Answers: Every Choice Route, Verified (2026)
There is no official Dragonkind answer key. Here is every choice route players have reported — sorted by confidence — plus the canon rules that do work.
Is There an Official Answer Key?
No — and any site that tells you otherwise is guessing. There is no official list of choices that guarantees a particular dragon, and player testing indicates that repeating the same route does not reliably repeat the same bond. The game is built to feel like the books’ Threshing, where the dragon does the choosing; that design only works if the outcome is not a solved puzzle.
That honesty is the point of this page. Sites publishing numbered “guaranteed” sequences for each color are repackaging forum posts — fine to try, but nobody can promise you a black dragon, and the game’s own creator has said some players won’t bond at all. If you want the full mechanics instead, start with how the Dragonkind game works.
What the Community Has Reported
Three tiers, clearly separated:
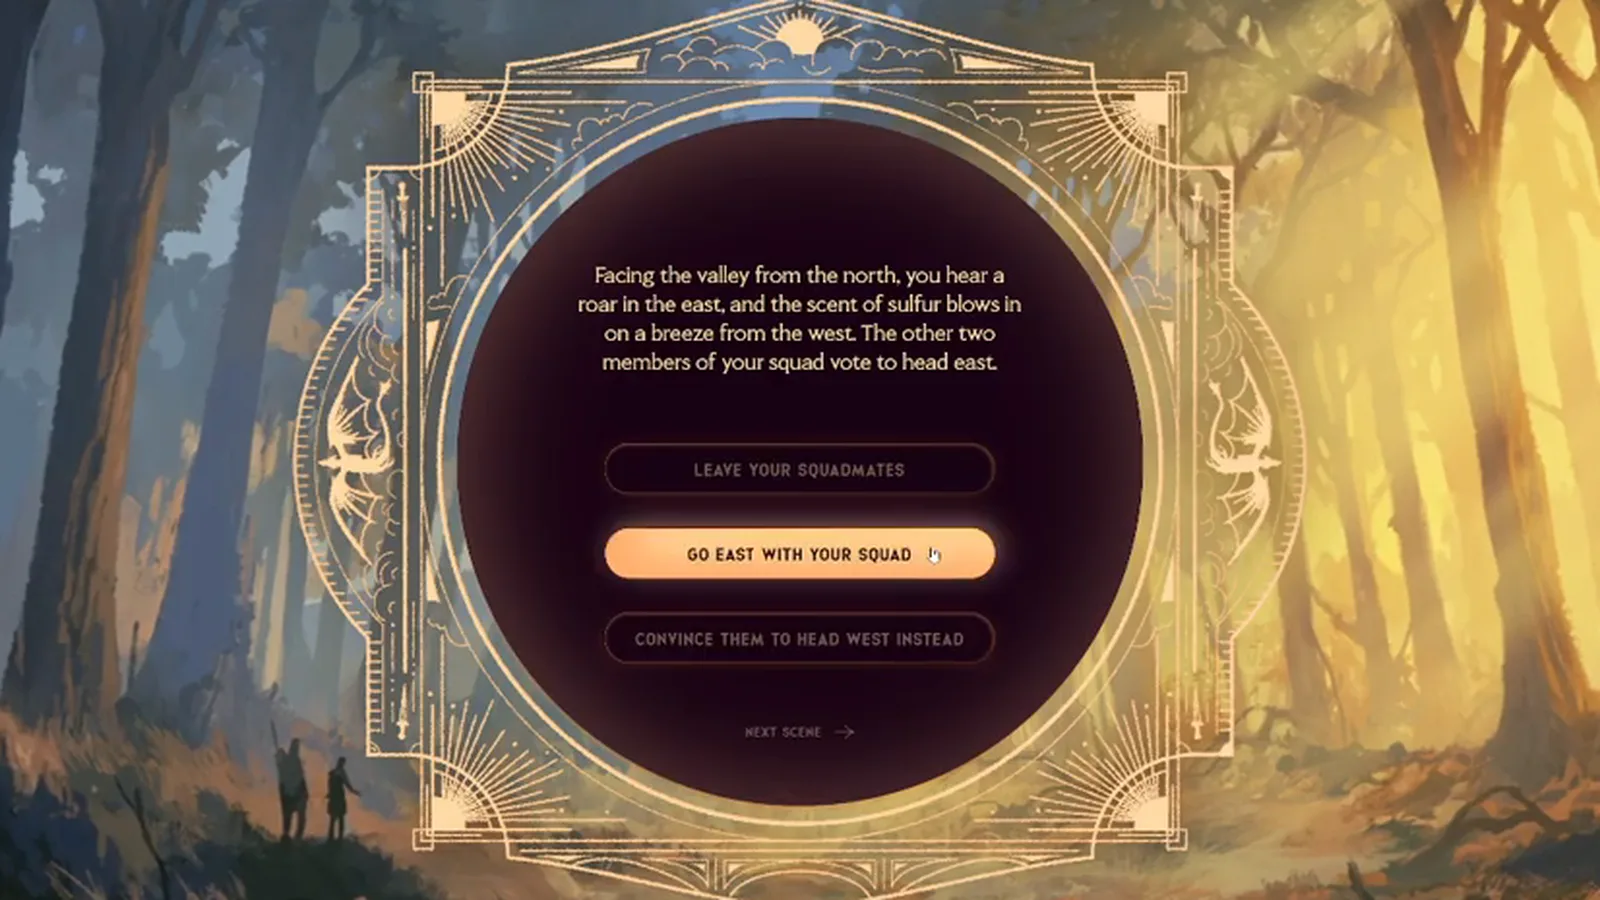
Tier 1 — Canon approach rules (from the books, reliable). These come from Colonel Kaori’s Field Guide to Dragonkind as quoted in Fourth Wing, and the game’s choices are built on the same logic. This is as close to “answers” as anything gets:
| Dragon | Rule you can trust | Where it’s from |
|---|---|---|
| Red | Never look a red in the eye — eye contact is a challenge | Book epigraph (Fourth Wing ch. 12) |
| Green | Never back down: lower your eyes in supplication, but hold your ground | Book epigraph + fan wikis |
| Brown | Show no trepidation — don’t flinch, don’t hesitate | Book epigraph |
| Blue | No written rule; never show weakness | Fan-compiled |
| Orange | No written rule; expect the unpredictable | Fan-compiled |
| Black | Rarest and most discerning — they choose almost no one | Fan-compiled |
Full per-color breakdowns, including the approach details: red, green, brown, blue, orange, black.
Tier 2 — Player-reported routes (unverified experiments). These are circulating in the community. Nobody — including us — can confirm they work, and they may stop working without notice:
| Target | Reported route | Status |
|---|---|---|
| Green | “Choose right → Hold your ground → Hold your ground again” | Circulating in Facebook groups; unverified |
| Black | Enter the valley with your phone battery between 76% and 90% | Published by a fan wiki that itself labels it “UNOFFICIAL — player-reported, not confirmed” |
| Red | Reportedly one of the easier burn routes: players describe being “roasted” after aggressive approaches | Consistent with the canon eye-contact rule; specific routes unverified |
Tier 3 — Confirmed non-facts. No credible route reports exist yet for the blue, brown, or orange dragons. When community consensus forms around one, this page is where we will record it — with the same tier labels.
Choices That Matter Most
Since there is no key to copy, the durable strategy is to play the approach the way the books teach it. Across every reported run, the recurring decision points are the same three levers:
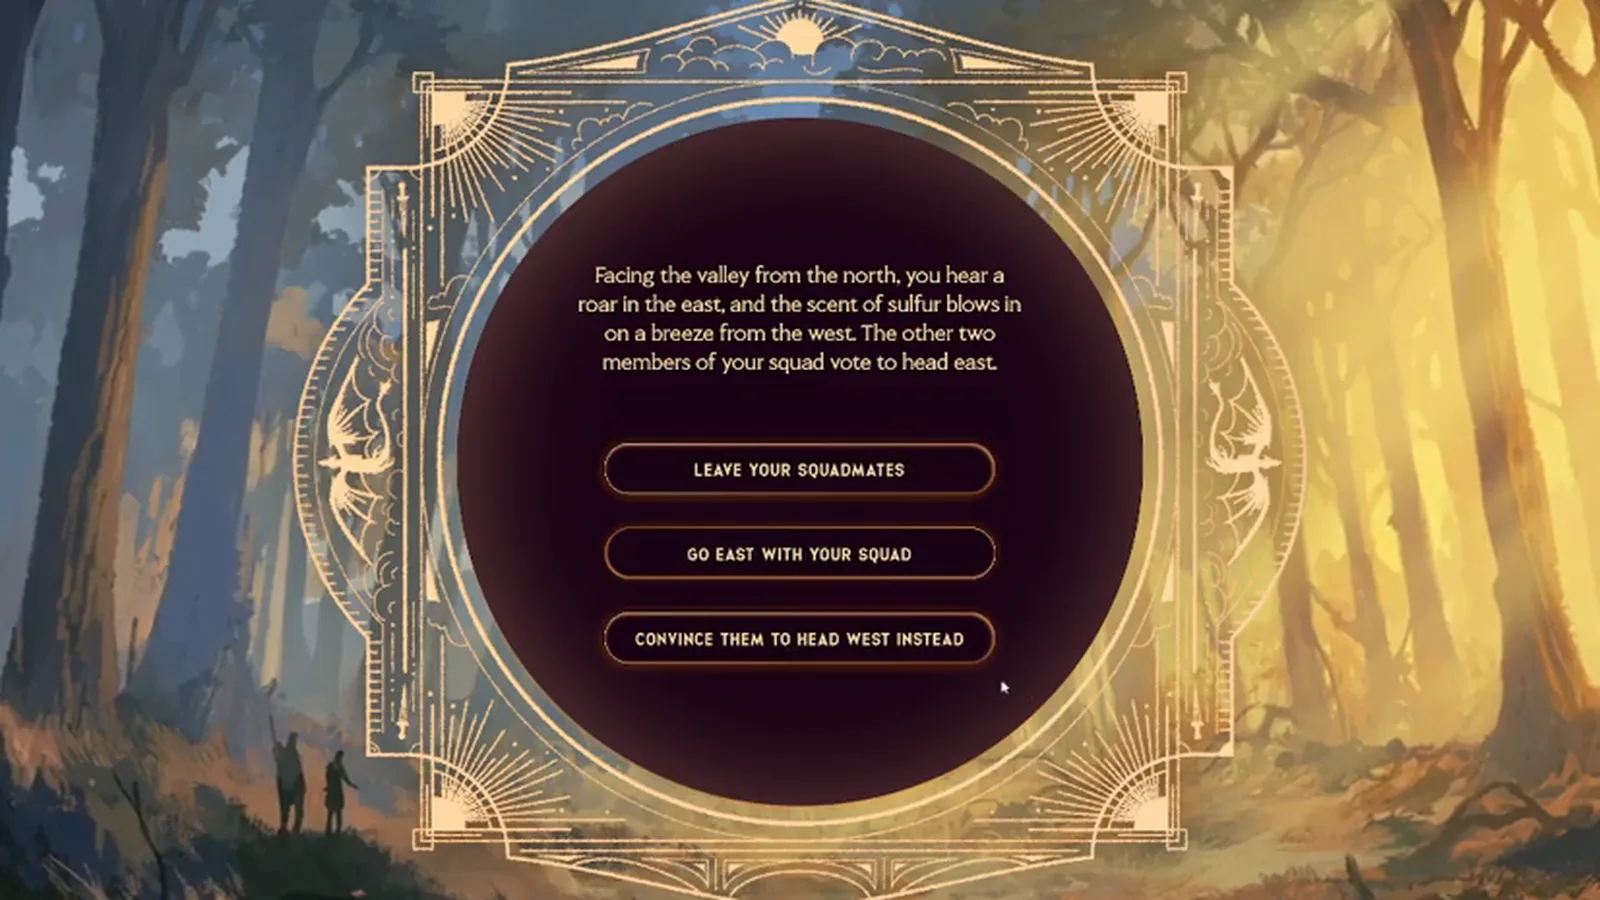
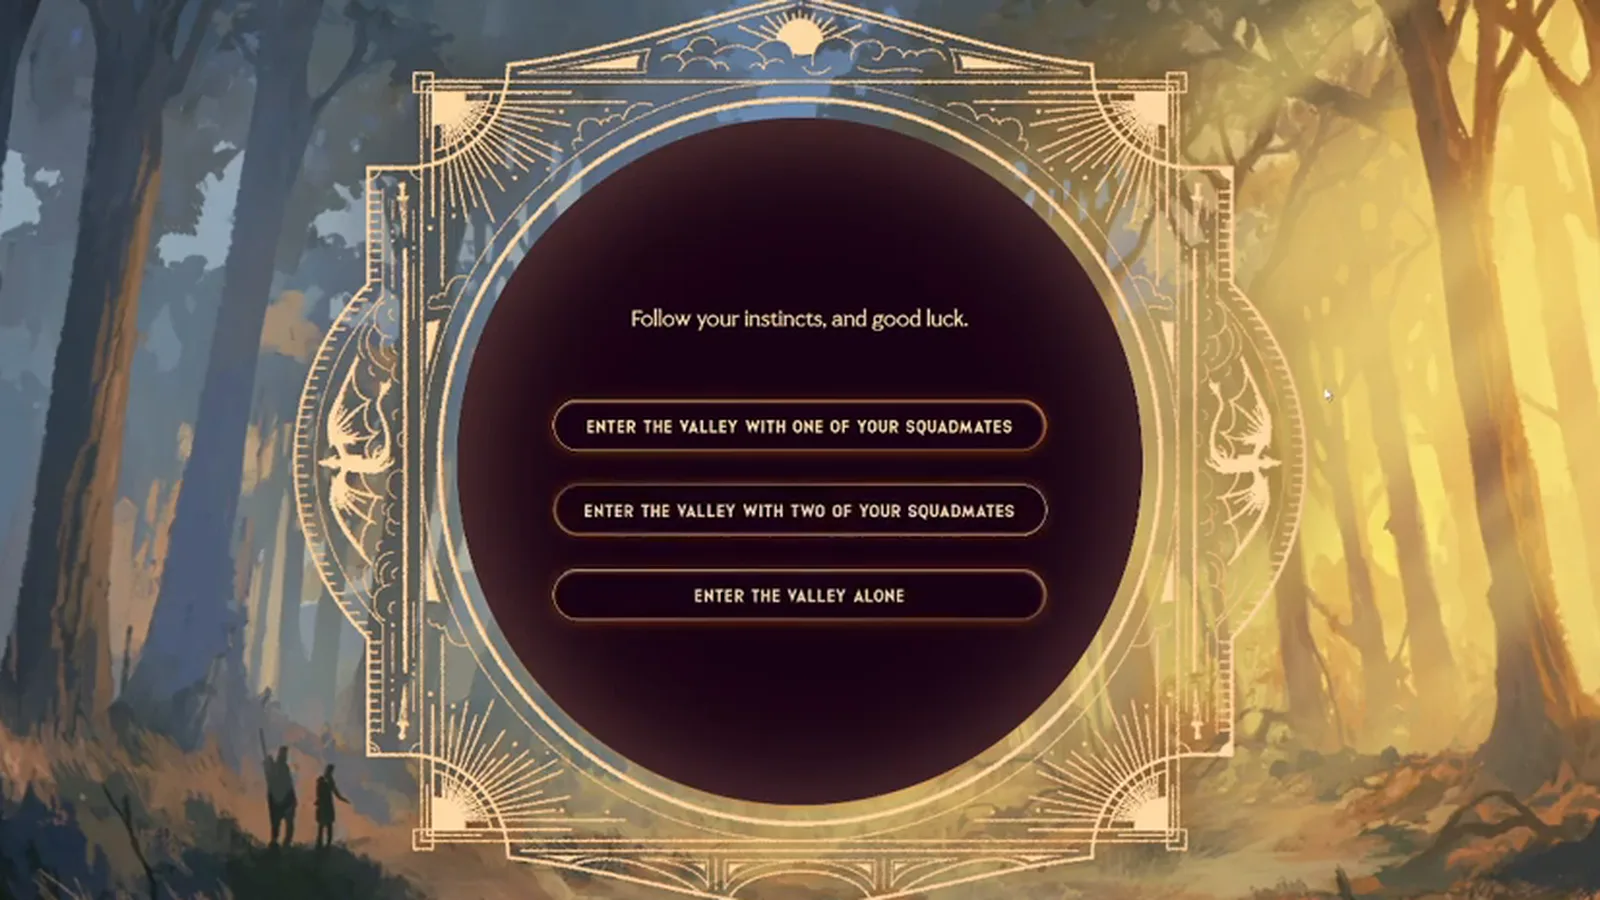
- Your eyes. The single most-quoted rule in the fandom: never meet a red’s gaze, but lower your eyes to a green without breaking off the approach. Eye discipline is the closest thing to a universal answer.
- Your ground. Retreating reads as weakness to nearly every den — greens explicitly test whether you’ll stand. Decide before the scene loads: you are not stepping back.
- Your composure. Browns are watching for trepidation, blues for weakness, oranges for… anything. Hesitation is the choice that fails every color at once.
Rehearsing those instincts risk-free is exactly what the Threshing Day quiz is for — and the deeper canon context for why approach manners carry life-or-death weight is in dragon bonding explained.
Retry Mechanics
If a run ends in fire rather than a bond, the retry loop is short:
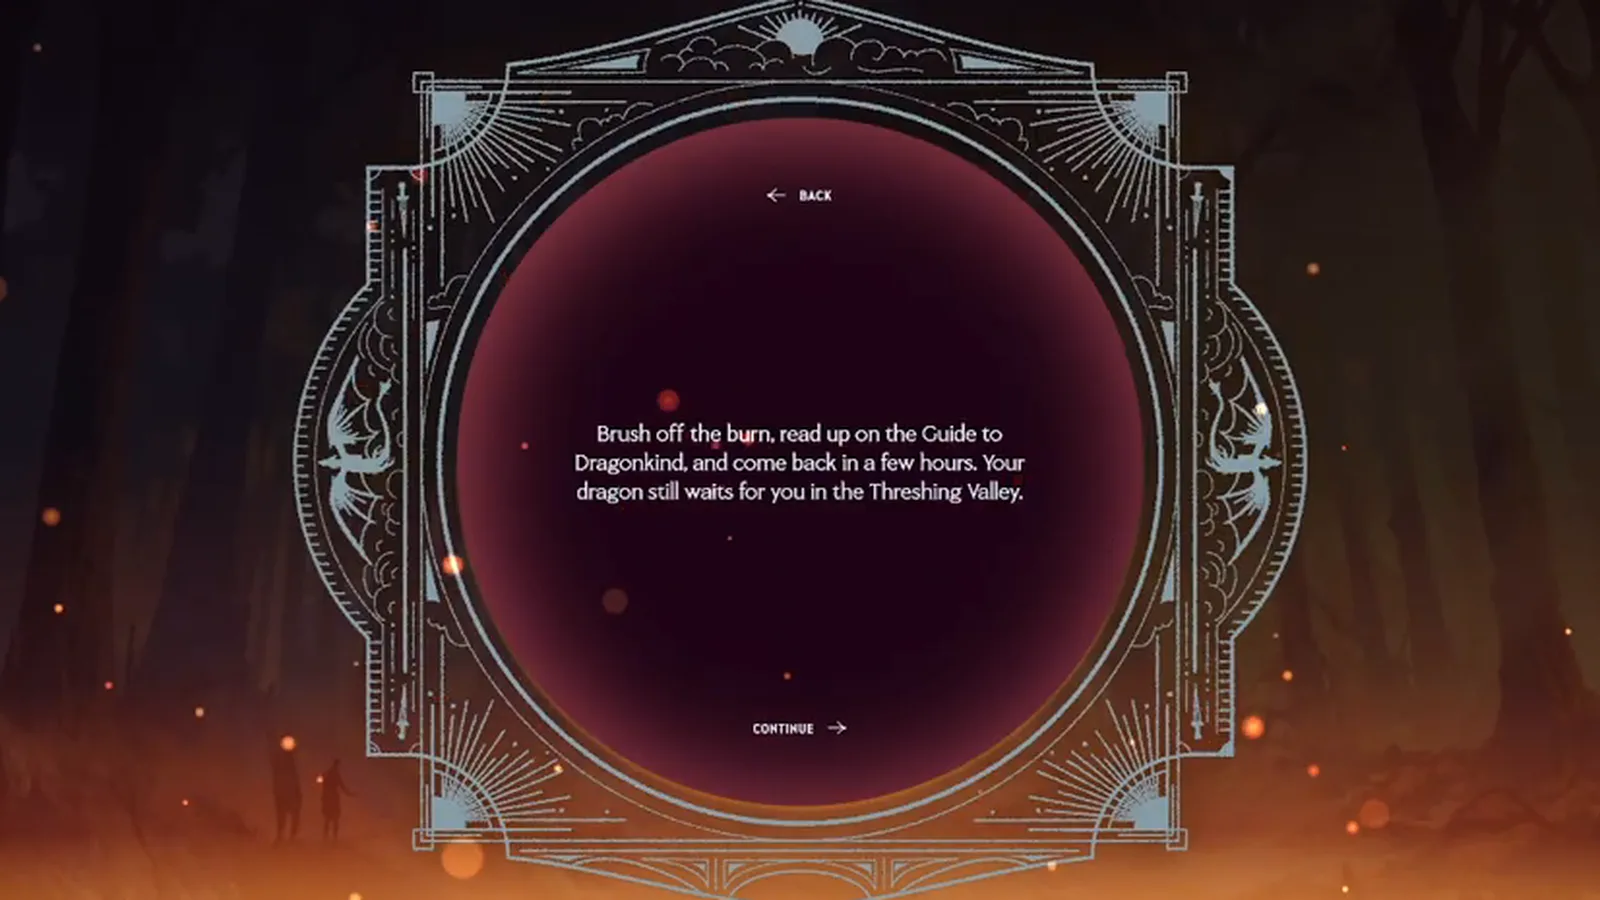
- The wait is about four hours — per player reports. Multiple community sources, including a player who documented returning “every four hours for the past four days,” converge on roughly four hours between attempts. The developers have not published an official cooldown, so treat four hours as the observed pattern, not a promise.
- Some candidates never bond — by design. Rebecca Yarros has said about 1 in 10 players won’t bond no matter what they choose. If several runs end in burns, the outcome is the trial being faithful to the books, not a bug in your route.
- Retry with intent, not a script. Since repeating a route doesn’t lock in a result, vary your approach using the canon rules above — or aim your next run at a specific den with its full guide: black, blue, green, red, brown, orange.
Related Articles
dragons
How to Get a Black Dragon in Threshing Day: What Works
Black dragons choose almost no one — none have been born for a century. Canon rarity, unverified player methods, and what actually works in the game.
dragons
How to Approach a Blue Dragon in Dragonkind
No canon rule covers blue dragons — Fourth Wing's field-guide epigraph names only reds, greens, and browns. Composure and zero weakness are the safest approach.
dragons
Brown Dragon in Fourth Wing: Traits & Approach
If you show trepidation to a brown… well, just don't — the canon rule. Traits, famous riders like Aimsir, and what's verified in the Dragonkind game.
Was this helpful?
Thanks for the feedback!